
How to Register a Sitecore Instance
Developers
- Login to your Sitecore Content Management instance.
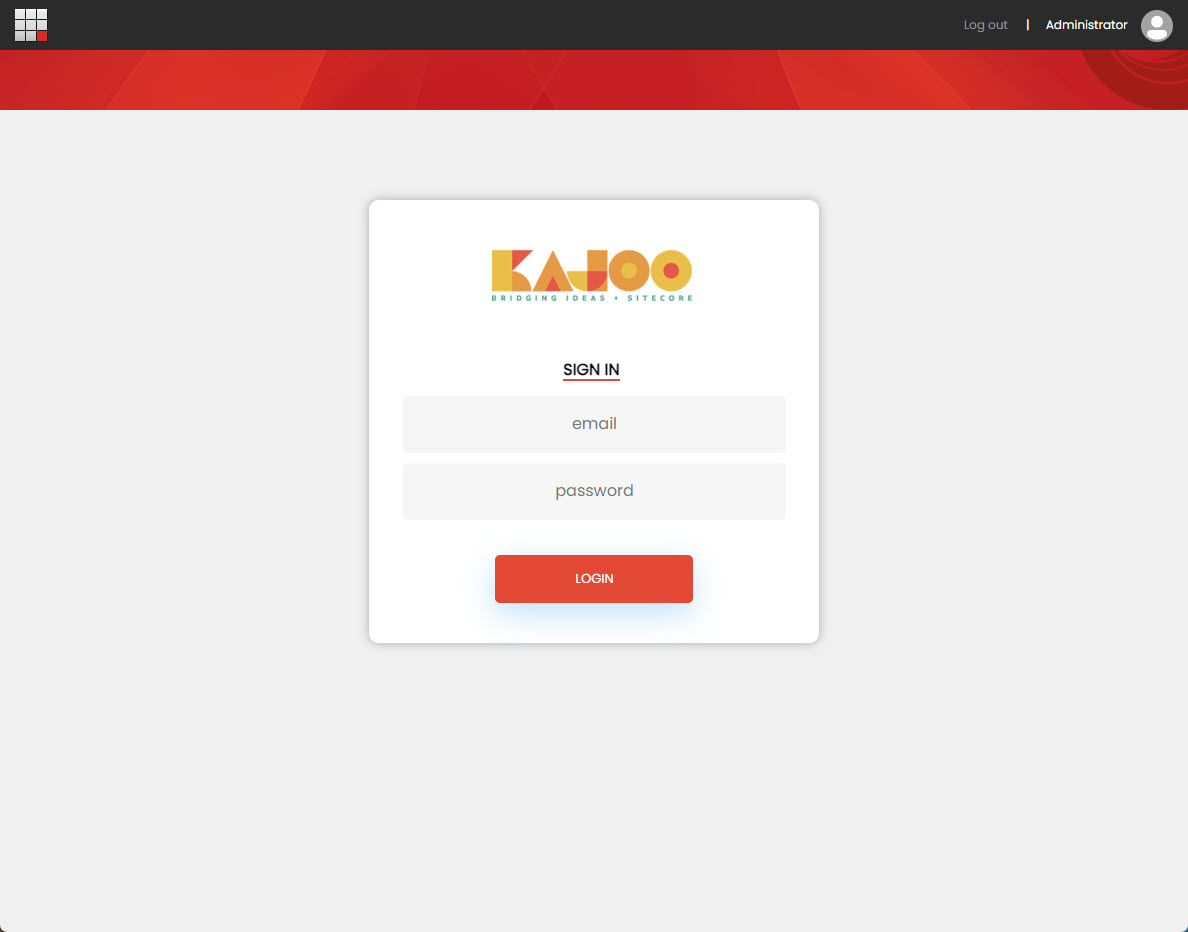
- Access the Launch Pad and click on the Kajoo button. This will take you to a login form where you should enter your Kajoo credentials:
Note
If you don't see the Kajoo button on the Launchpad, navigate to the
Desktop, click on the Start menu, and you'll find the Kajoo plugin listed among the apps.
- After logging into Kajoo for the first time, you'll see a pop-up screen. This screen requires you to enter details to register your Sitecore instance. We'll explain these fields in detail below.
- Instance Name (Required): This is the name used within the Kajoo application. It's automatically filled in when you first access your environment. The name shouldn't contain any spaces.
- Hostname (Required): This is the current URL of your Sitecore Content Management (CM) environment, which should match the hostname of your current URL. This value is automatically fill in when you first access your environment.
- JSS Api Key (Optional):
- Content Api Key (Required): This field, combined with the GrapghQL Endpoint and Hostname fields, is used to send items from Kajoo to this specific Sitecore instance.
- GraphQL Endpoint (Optional): If left blank, this field defaults to the Kajoo endpoint. This endpoint combines with the Content API Key and Hostname to connect and deploy content items to your Sitecore environment.
- Fill in the fields using the information provided above. Once completed, you should see a confirmation screen indicating that your Sitecore instance has been successfully registered.
- After completing these steps, log in to Kajoo and navigate to
Configuration > Instances. Here, you should see the newly registered instance along with all the information you provided.
Congratulations! You've successfully completed the registration of your instance.
Updated about 2 months ago